Scalpeldashi Blade Styles
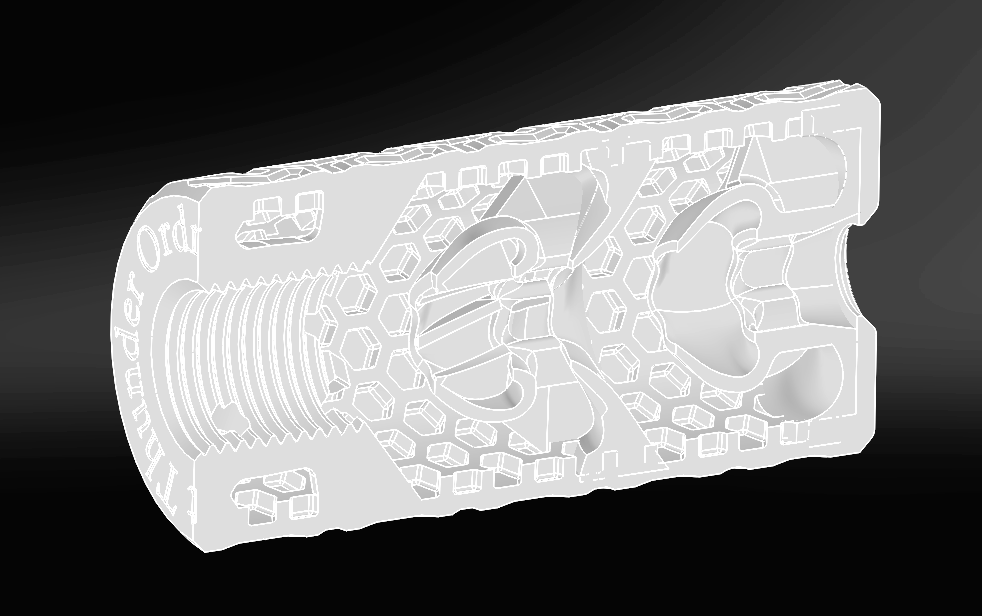
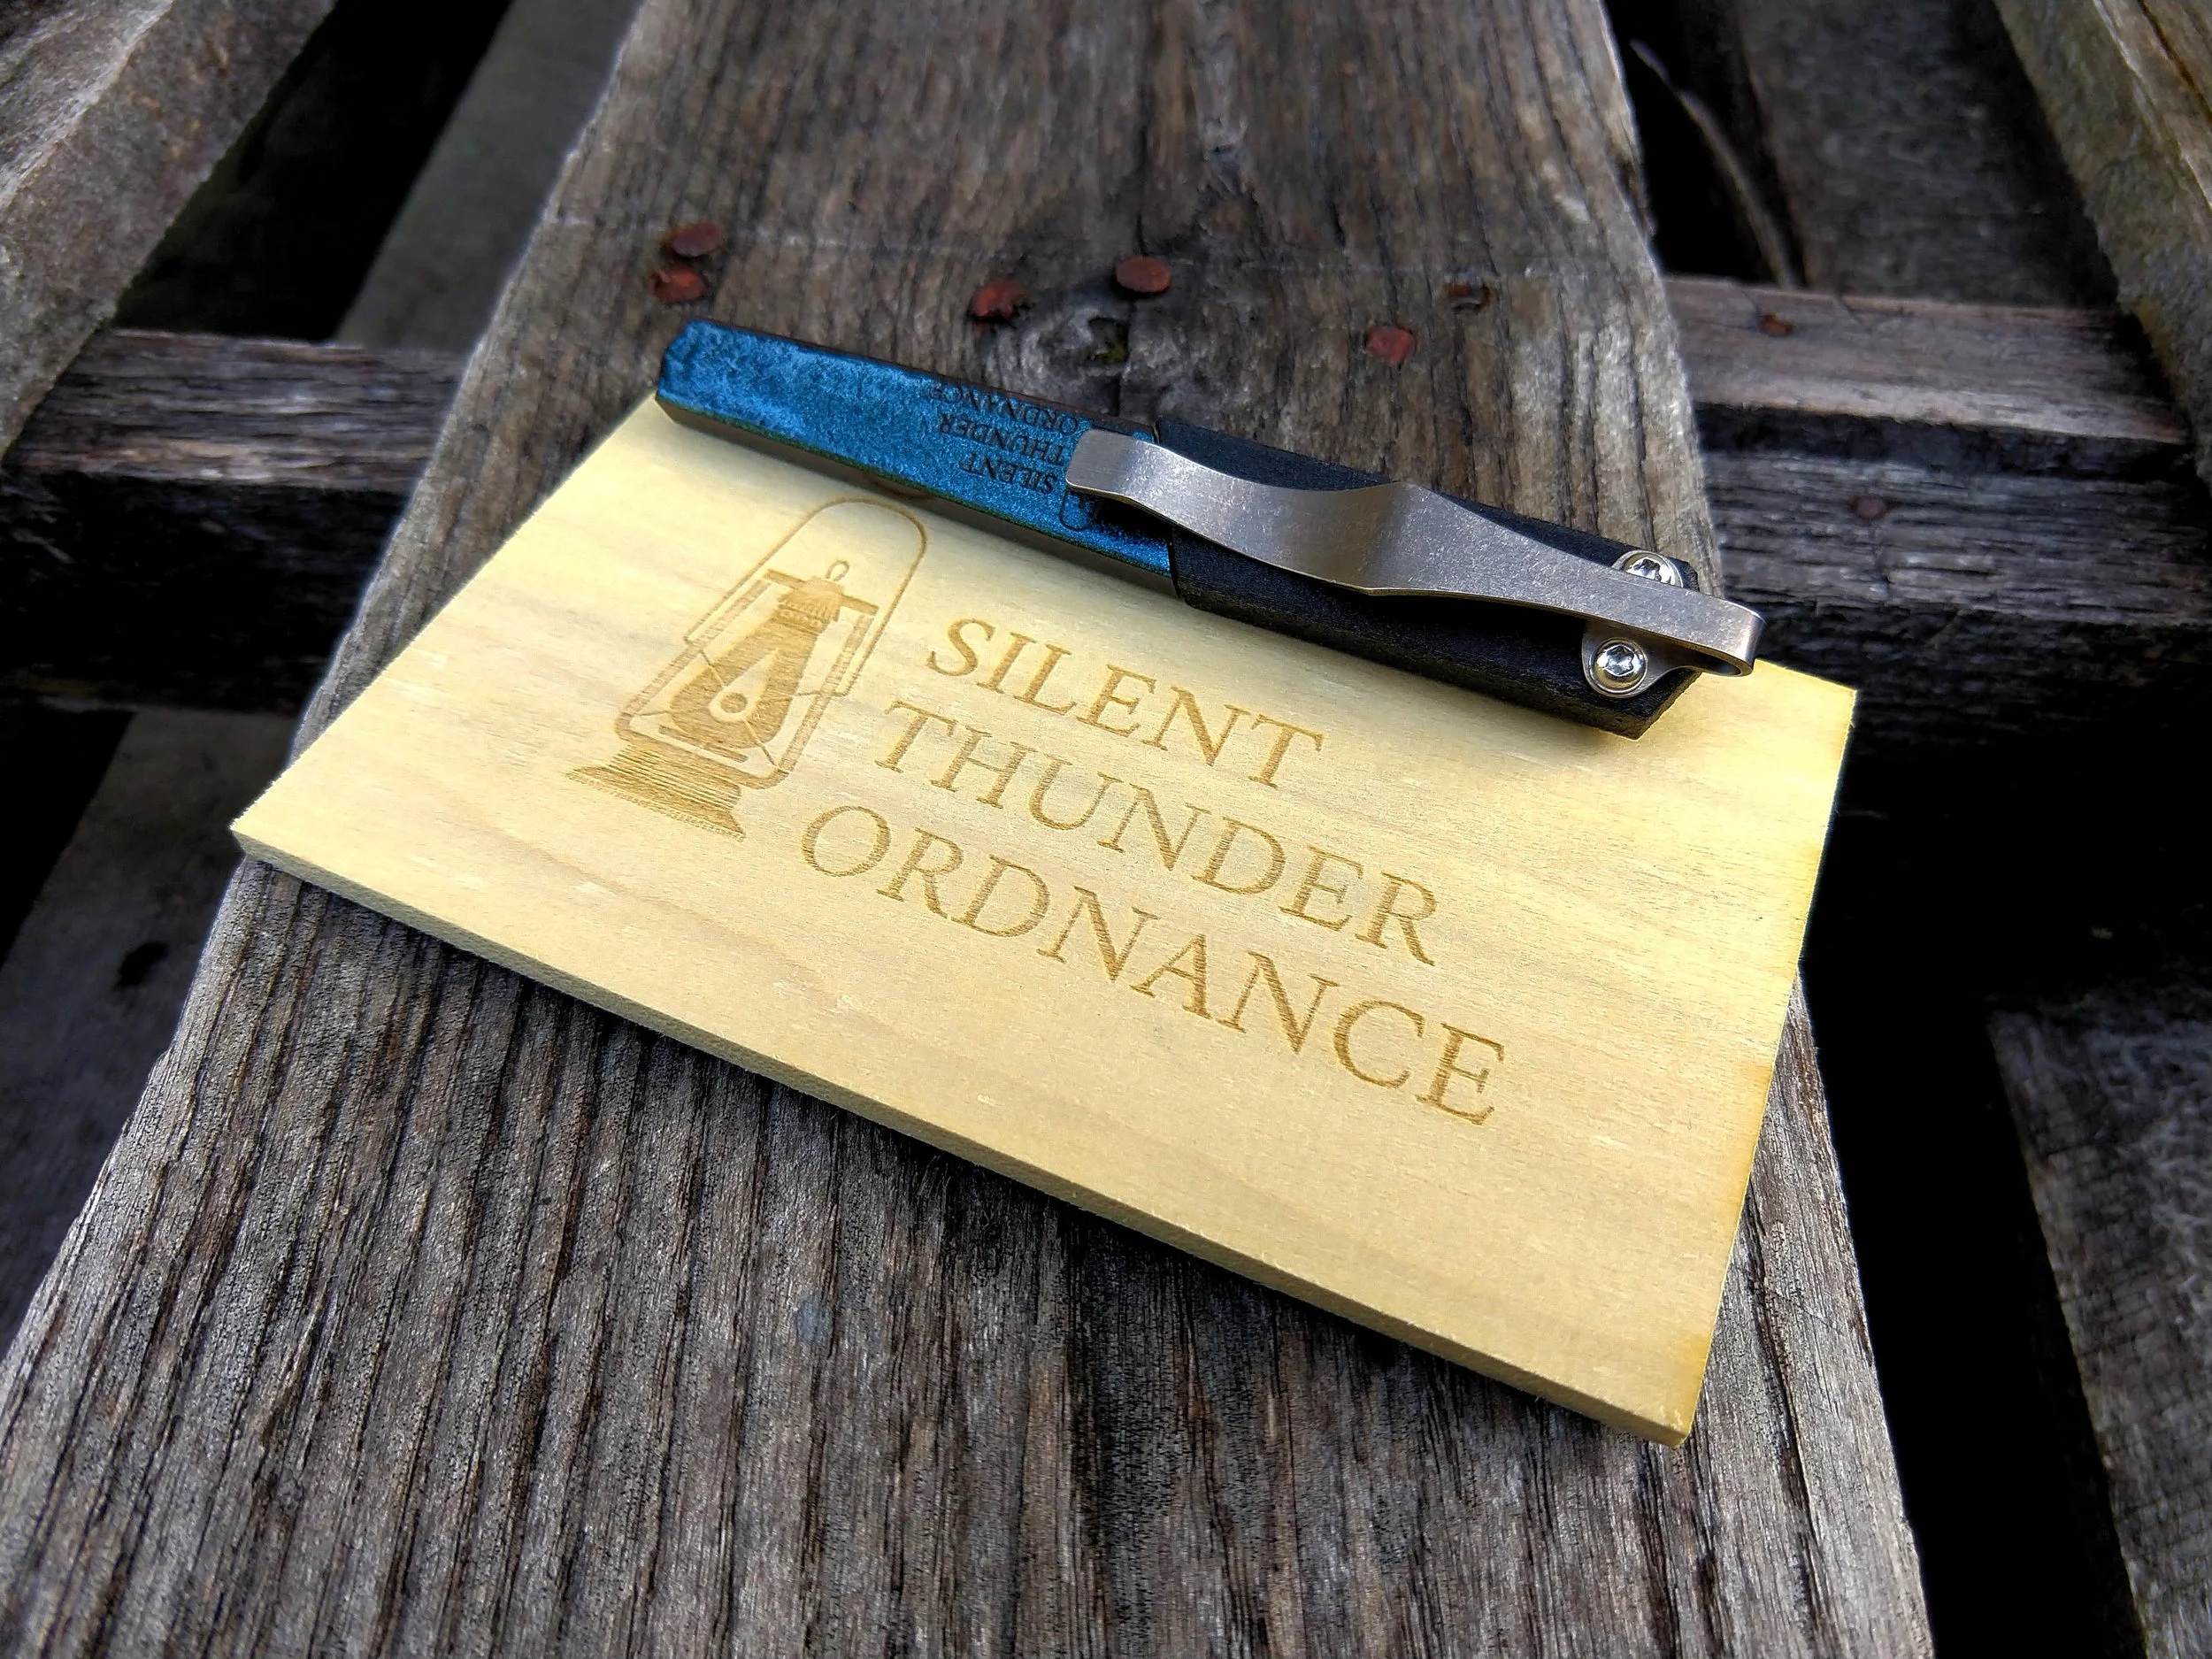
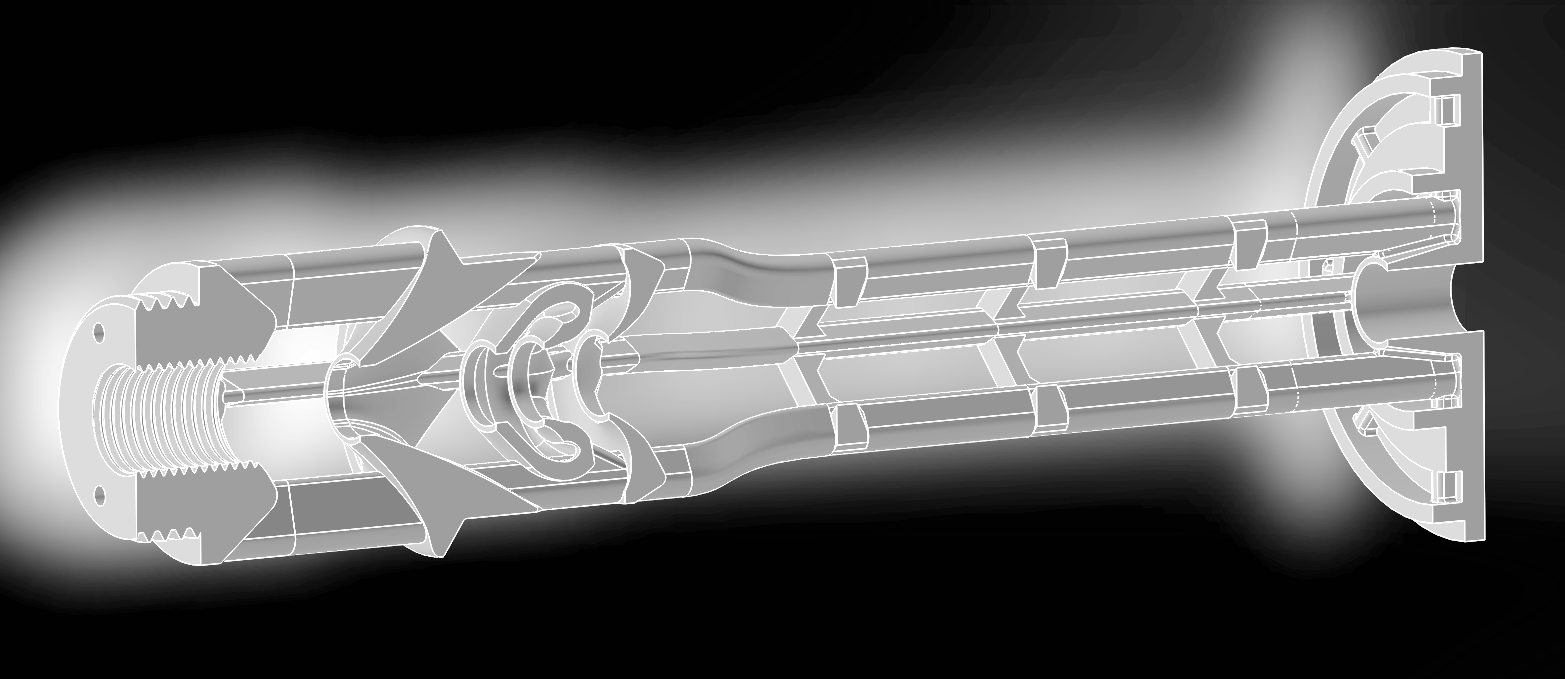
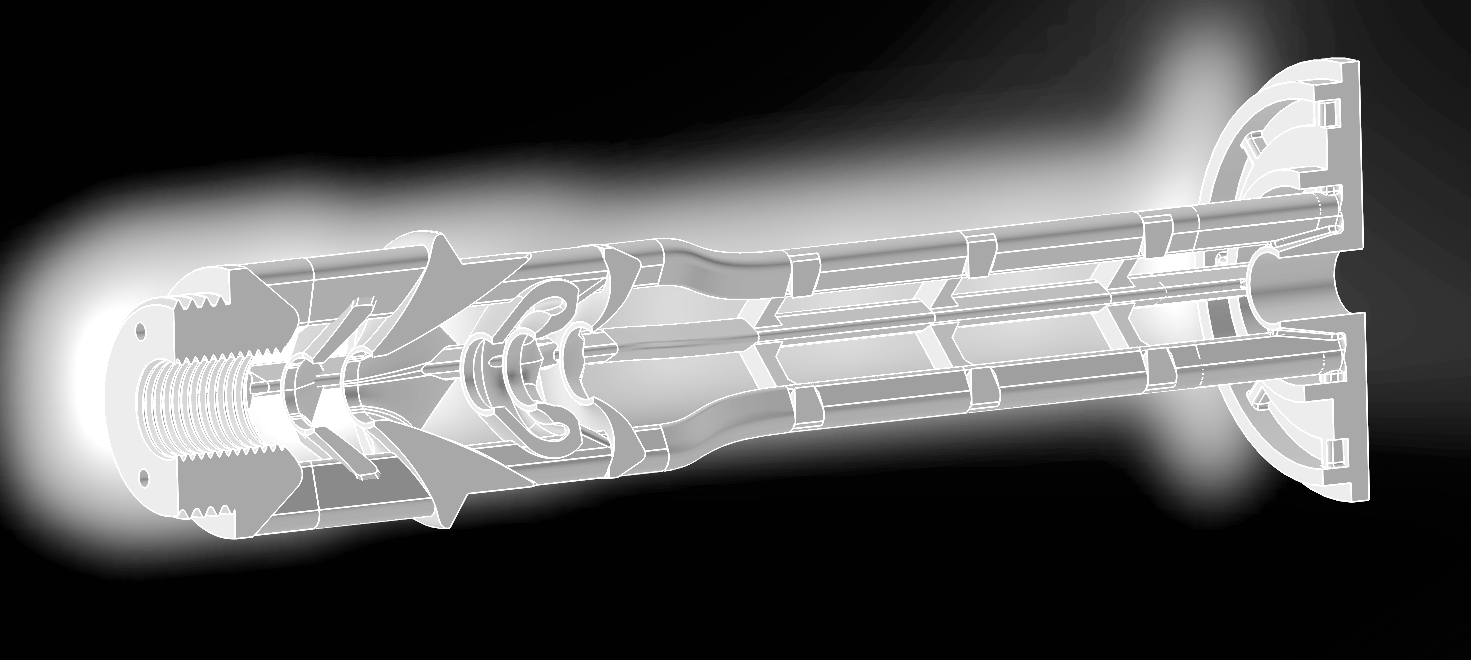
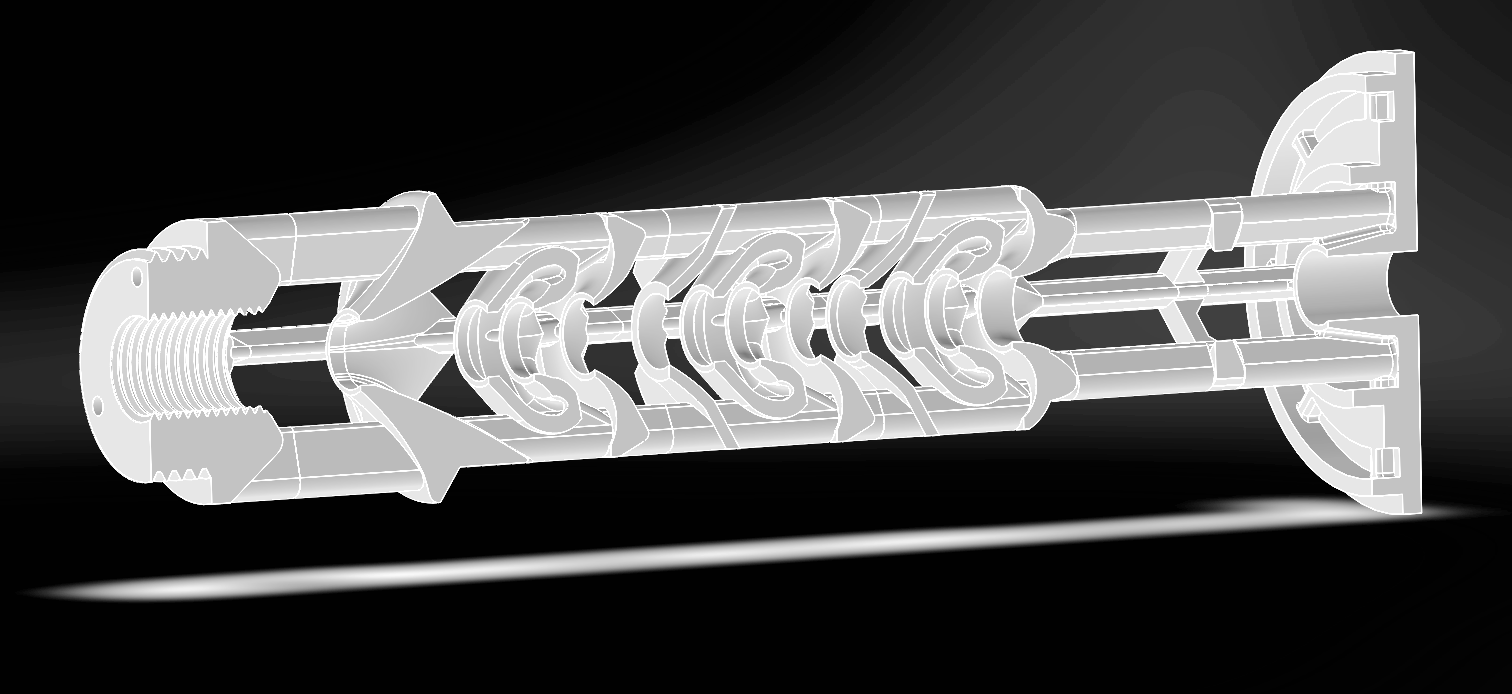
Silent Thunder Ordnance

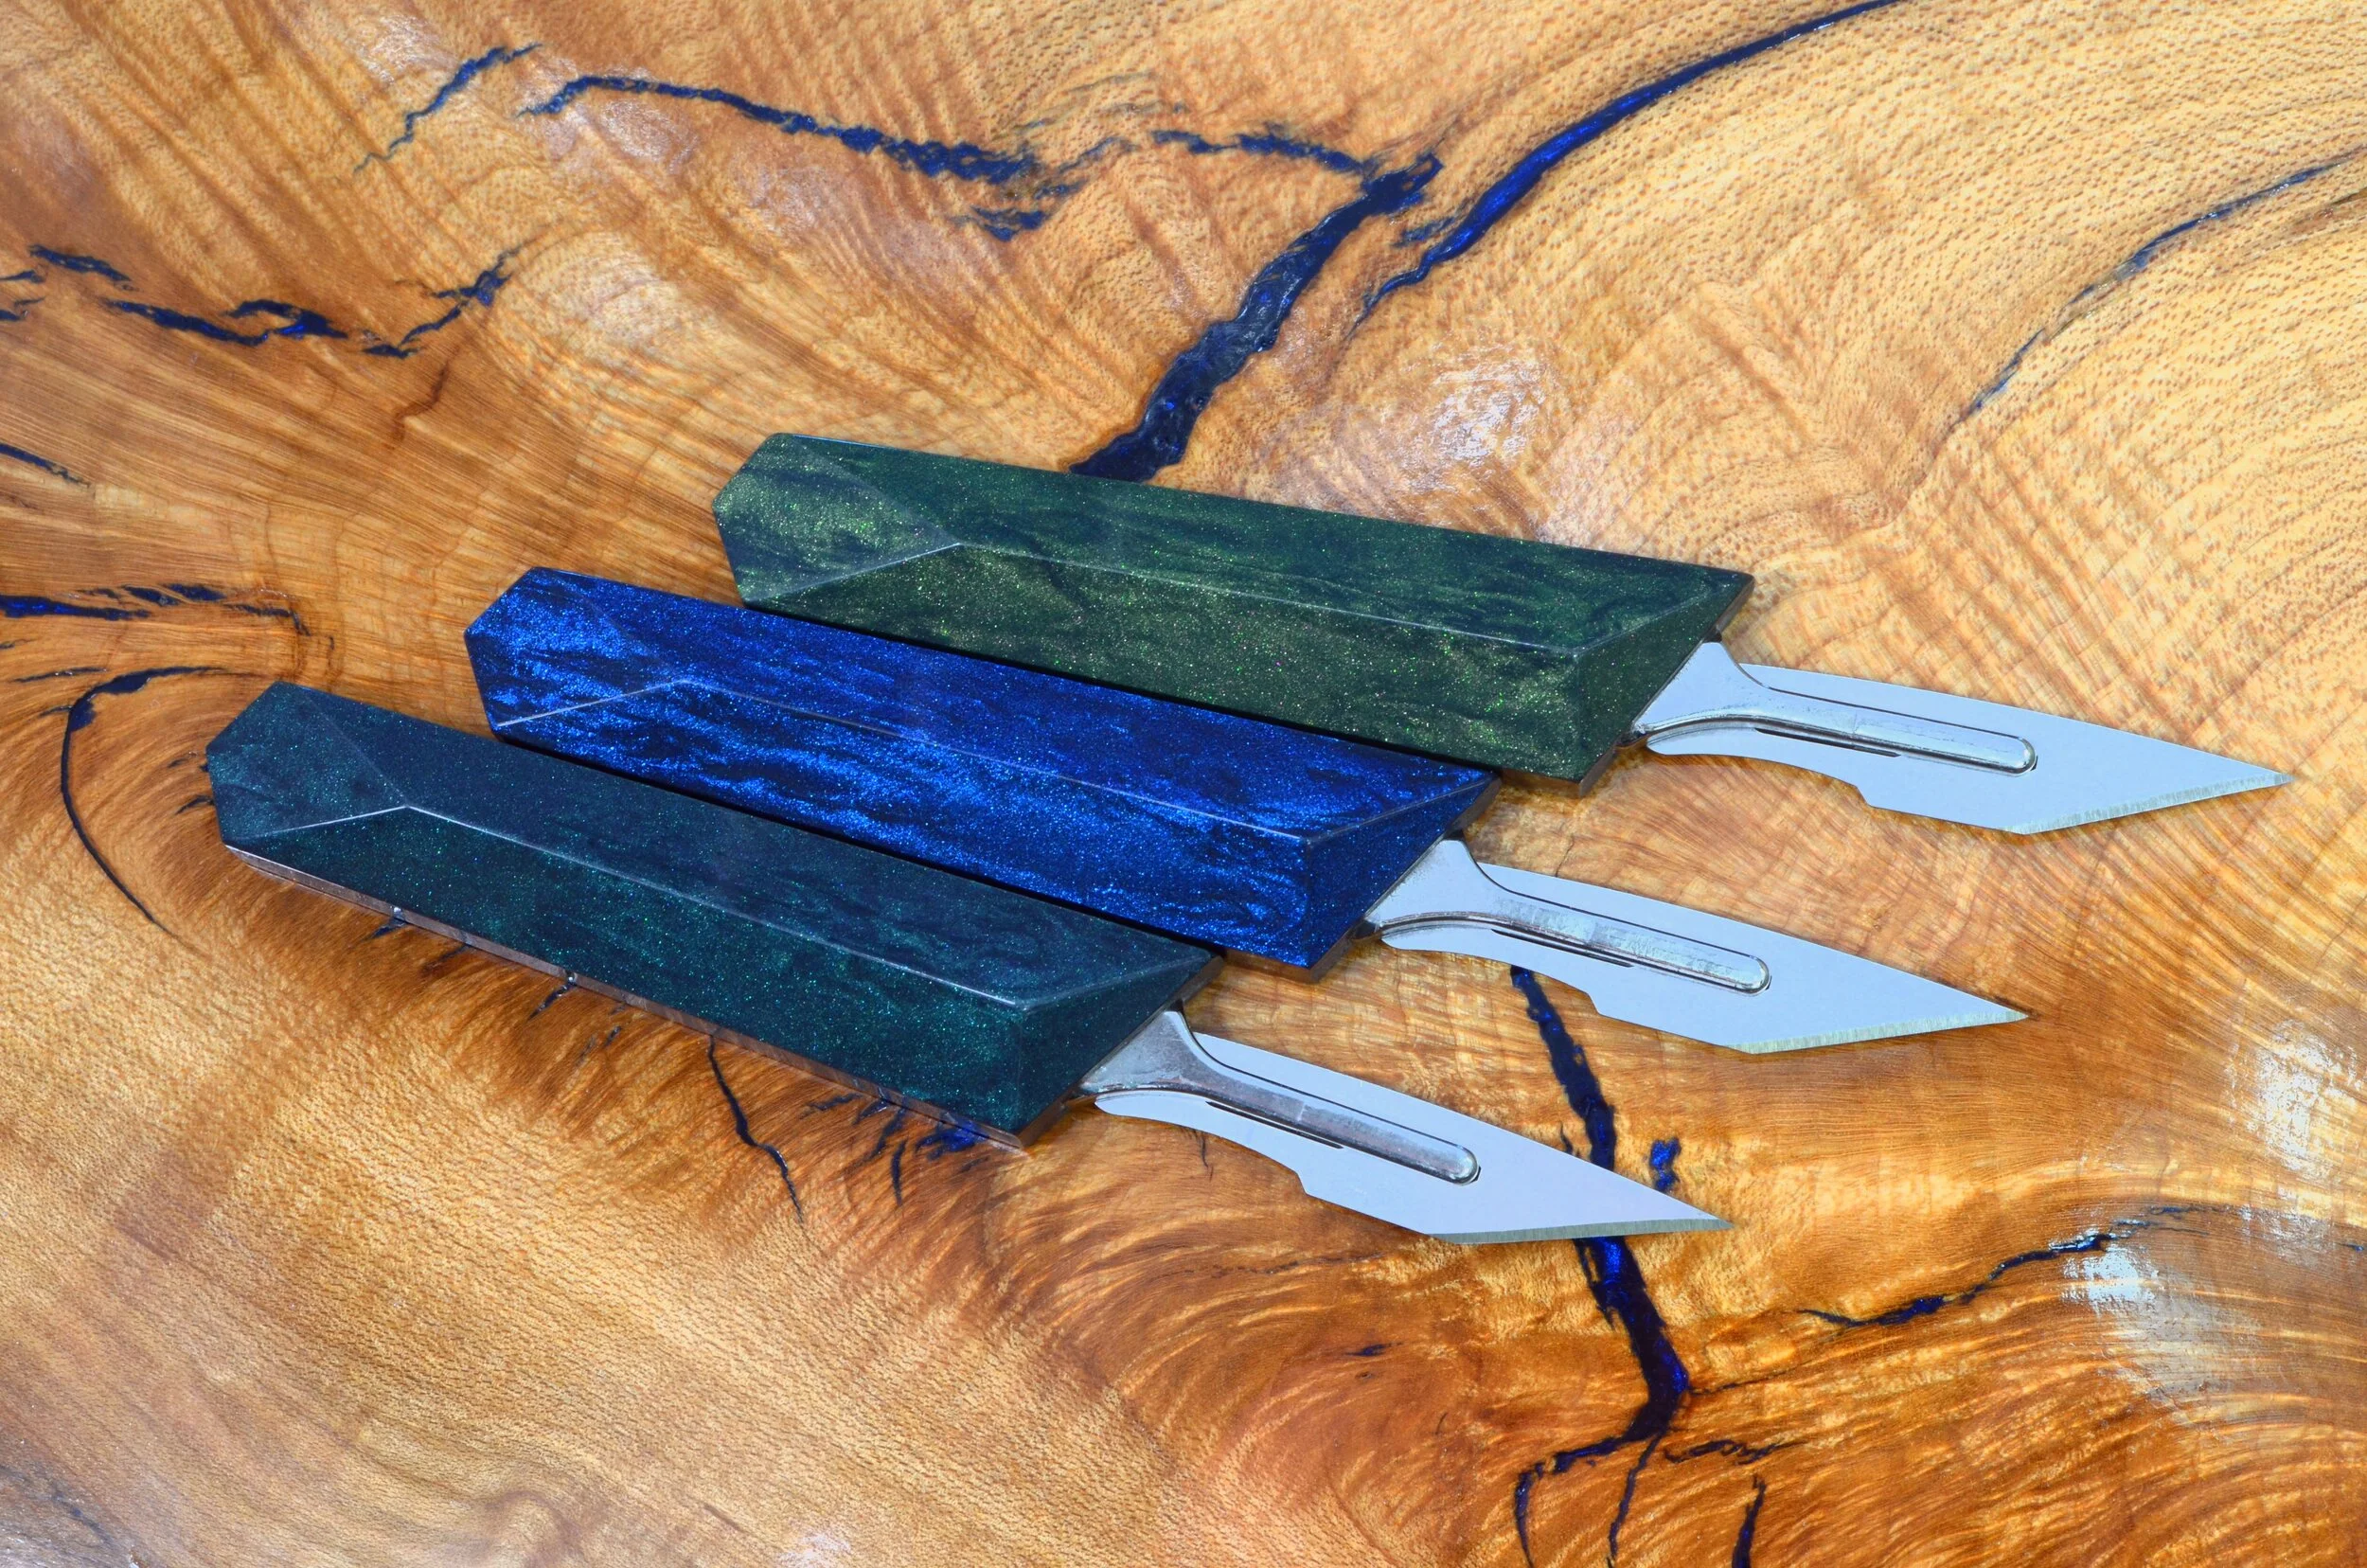
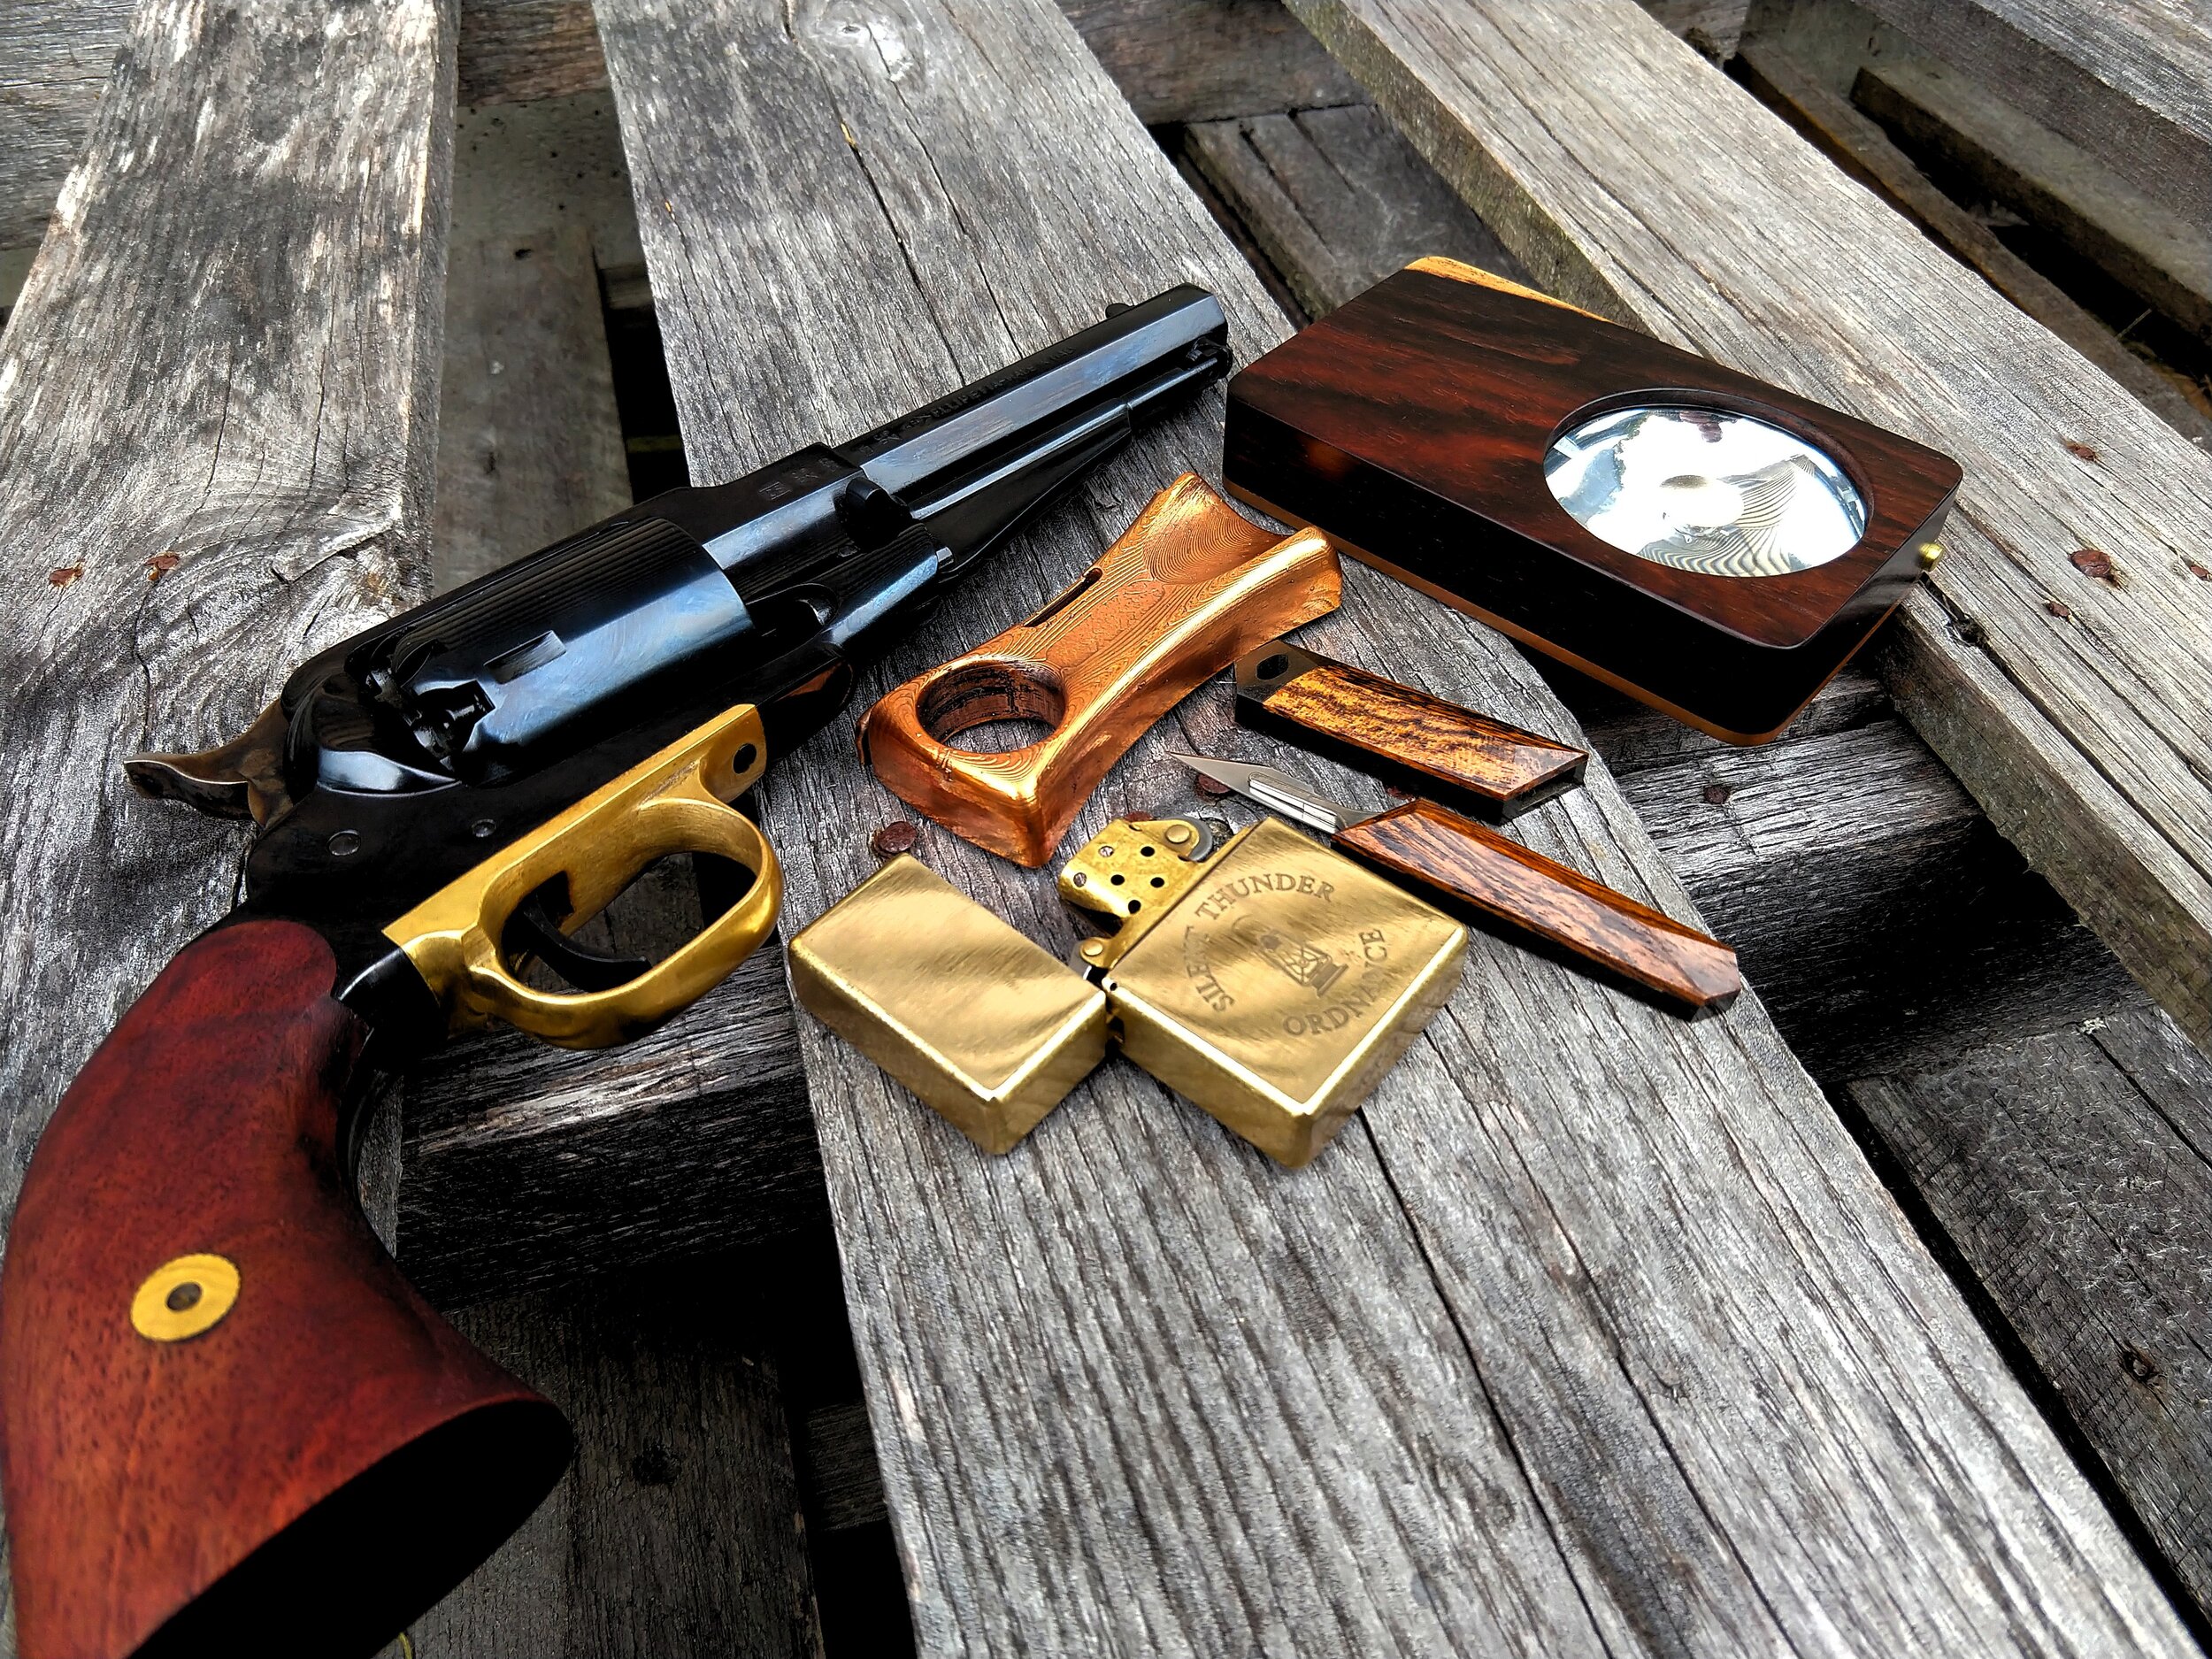
Scalpeldashi showing 5 blade styles we frequently use. Handles/blades are, from left to right: Bubinga/#10A, Sandworm Ivory/#40, Summer Sunset/#11, Ultramarine Depths/#10, and Cuttlefish/#16
We get this questions often about what scalpel blades are available, will they fit our sheath, and which is your favorite? This post is an attempt to answer that question.

A common graphic showing just a handful of the huge number of different scalpel blade styles.
To the right is a typical image used to sell some of the more common blade styles. It is far from exhaustive. Blades are available at extremely modest prices, the most common ones are less than 5 cents each if purchased in bulk. More typical pricing is in the range of 7-12 cents per blade for a 100 pack for common styles. Less common styles, blades sterilized by gamma radiation, and stainless steel blades can all be priced a little higher, but are still very inexpensive.
Our seven favorite styles are #9, #10, #10A, #11, #12, #16, and #40. (we offer a sampler pack if you want to give them a all a try) Far and away we use #10A the most, and it is what we supply with every dashi purchased. It is fairly rigid with a fine point, allowing an incredible amount of force to be put behind it. This gives it great precision for accurate work like marking/scoring, but it is perfectly functional for carving, general utility, even opening packages. Its angular style was actually an inspiration for the scalpeldashi itself years back. #11 looks similar, but in practice is very different. It makes sacrifices in rigidity for a more slender blade and even more acute point. It is fantastic for cutting very fine details, particular when accessibility is limited. Both #11 and #16 are sometimes heated, bent/formed, and re-tempered to make specialty tools/cutter heads for unusual applications where sourcing a commercial blade would be difficult. Speaking of #16, this is another good general purpose blade. Wickedly sharp, like all scalpels, with a straight edge and utilitarian sheepsfoot blade it is also great for general purpose but also excels at scraping. Not surprising as it is closely related to a dermaplaning blade. (for those who don’t know, dermaplaning is a common cosmetic procedure where the surface of the skin is scraped and shaved removing the top layer of skin. It is actually rather similar to straight razor shaving in some respects.) #10 is made for slicing, and slice it does. Slicing in softer materials is where we most commonly use this blade. #40 is a double edged blade. Aside from the advantages when piercing or cutting thin slots in material like leather, this blade actually is very useful for EDC. It is a very utilitarian shape, but you get effectively two blades in one. Double the edge retention or keep one exquisitely sharp for critical tasks while you abuse and dull the other edge. #9 is the weird love child of a sheepsfoot safety blade and a chisel. Push cutting in confined space, cutting along a surface but not the surface itself, and scraping are where this blade excels. Genuinely not sure why this blade isn’t more popular, as it is hard to replace. #12
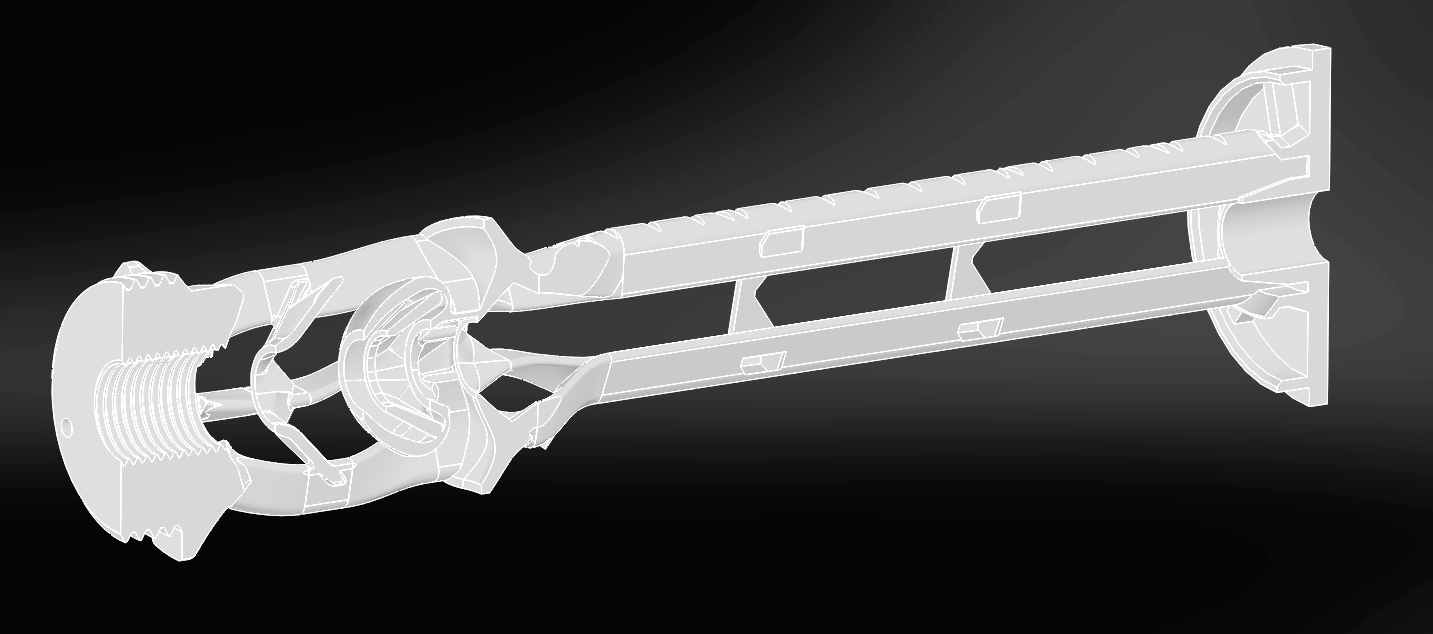
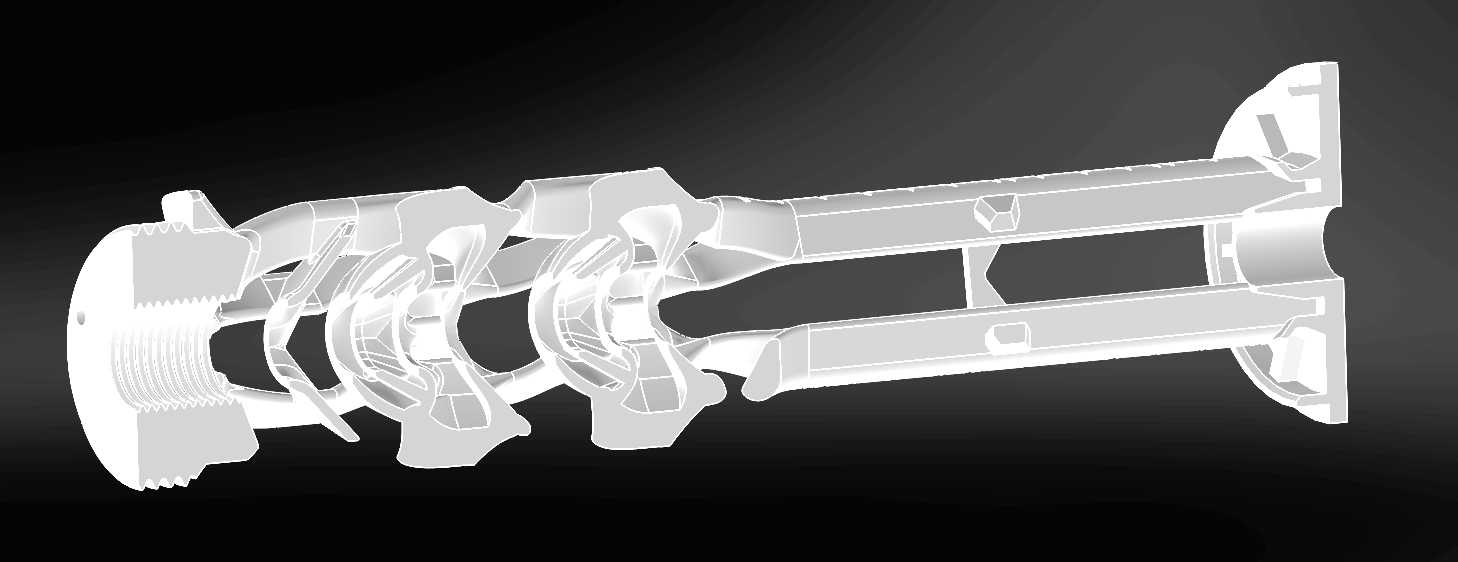
What about sheath fitment though? After all, if you’re going to carry one as part of your EDC, it isn’t much use if you can’t carry it with you. All of the aforementioned styles fit in our standard sheath, though #9 and #12 can be a bit of a squeeze. The reason for this comes down to how the sheath works. You see, most sheaths grip the blade of a knife. Our sheath actually contains torsion bars which grip the scalpel’s bayonet instead. This frees up the design to happily carry a wide variety of blades.
Hopefully that answers the common questions and is a good primer on the subject. Blade preference can be as much about personal taste as application. Thanks to the immense diversity of blade styles available though, there is something for everyone out there.